


Posted by Euclid on Nov 30th 2018
How To Set Up A Portable Branded Fitting Room For Your Next Trade Show, Road Show, or Clothing Line Exhibit
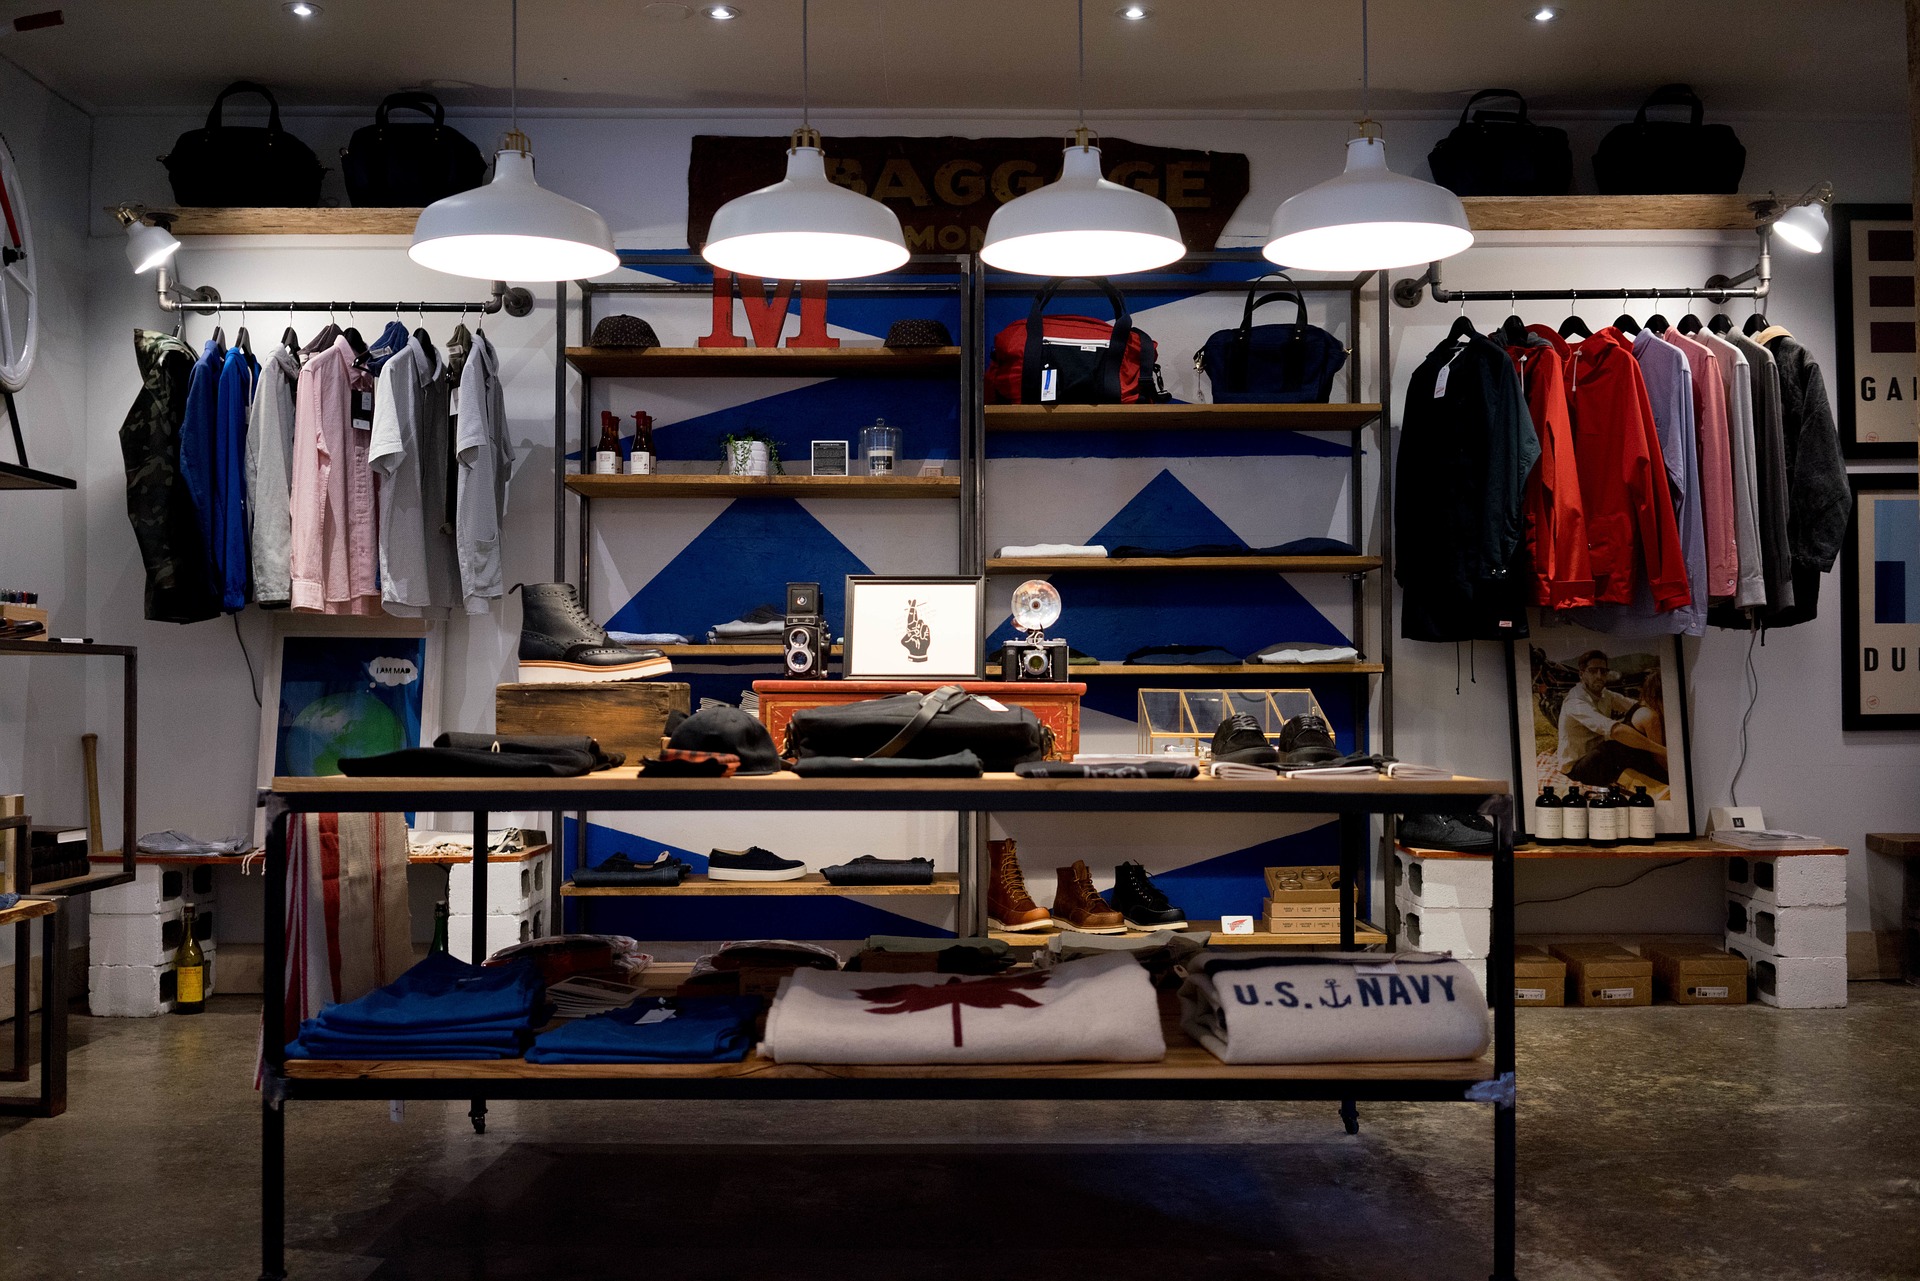
Do any of your customers ask to try on clothes before making a purchase at trade shows, road shows, or markets? Would you like to have one that is lightweight and portable that you can take to every event with your booth setup? Would you like to have one that is custom made just for your company, consistent with your brand identity?
If yes to all of these, we have the solution just for you!
Our Rise Portable Dressing Room is the best, branded portable dressing room for the trade show industry! It allows companies and their trade show booths to maintain a complete branded experience, aligned with their identity and presence. Say no more to shoddy and flimsy pop up changing rooms and portable dressing room tents that cannot be customized to fit your brand!
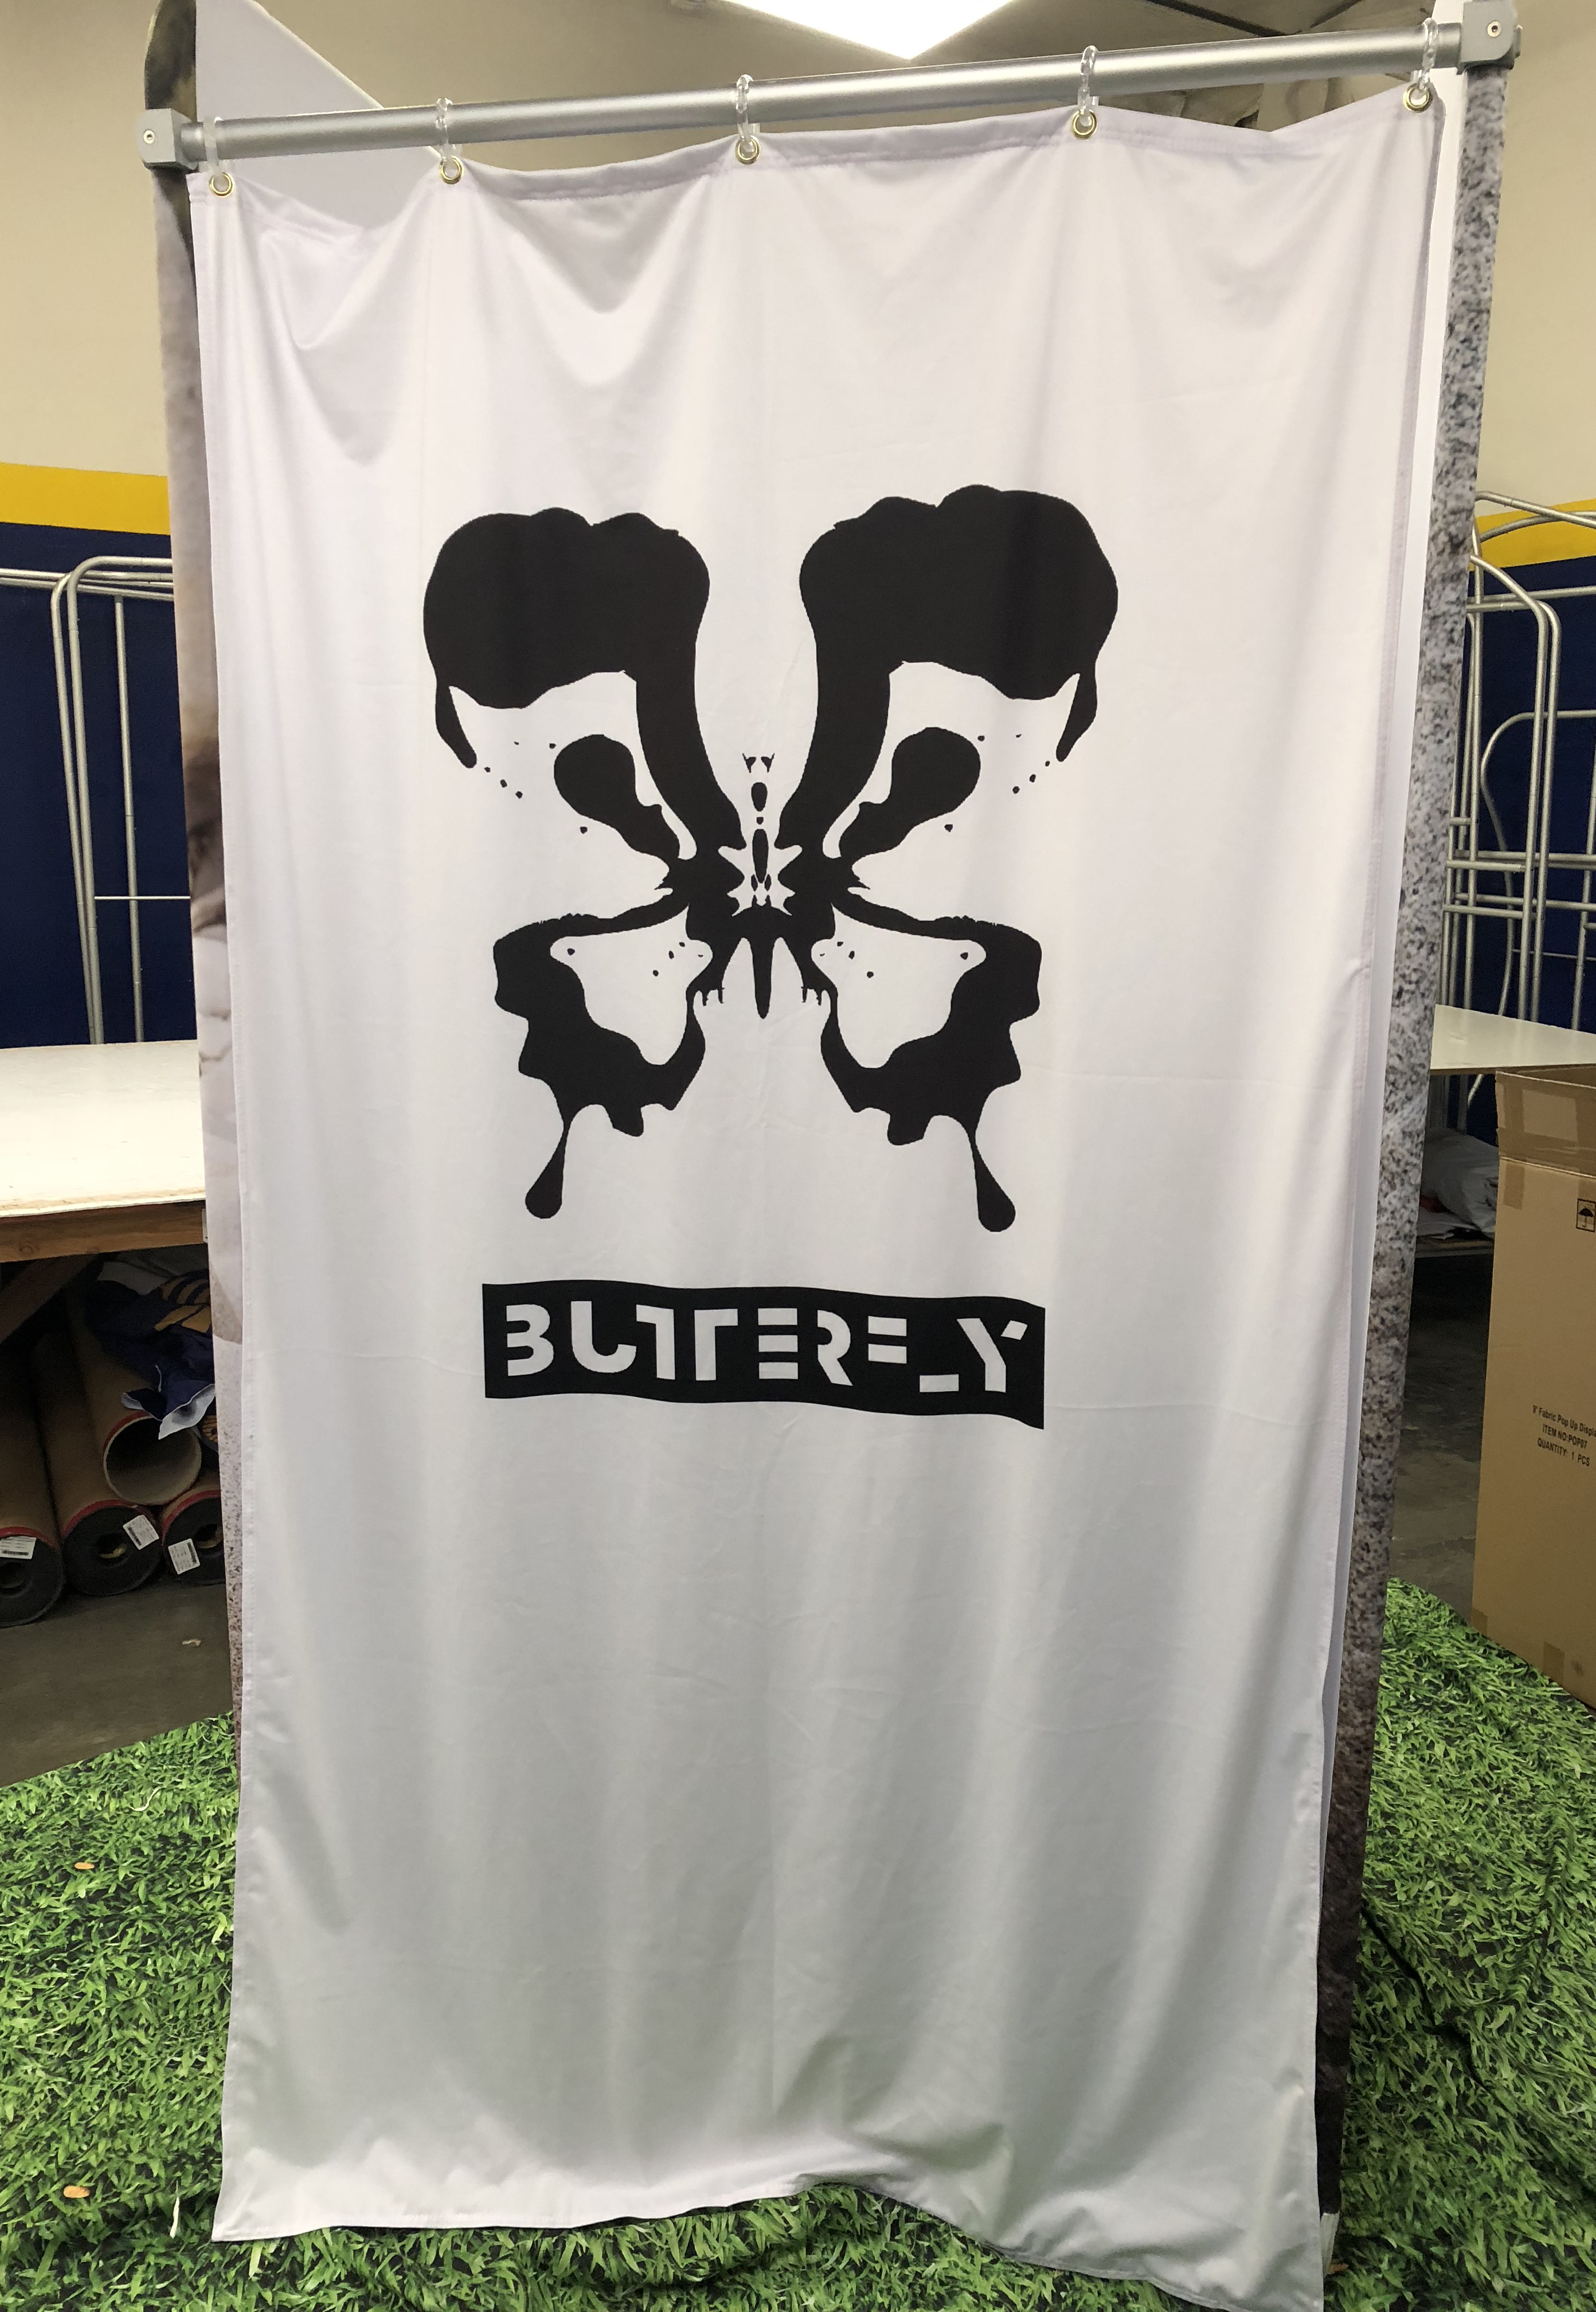
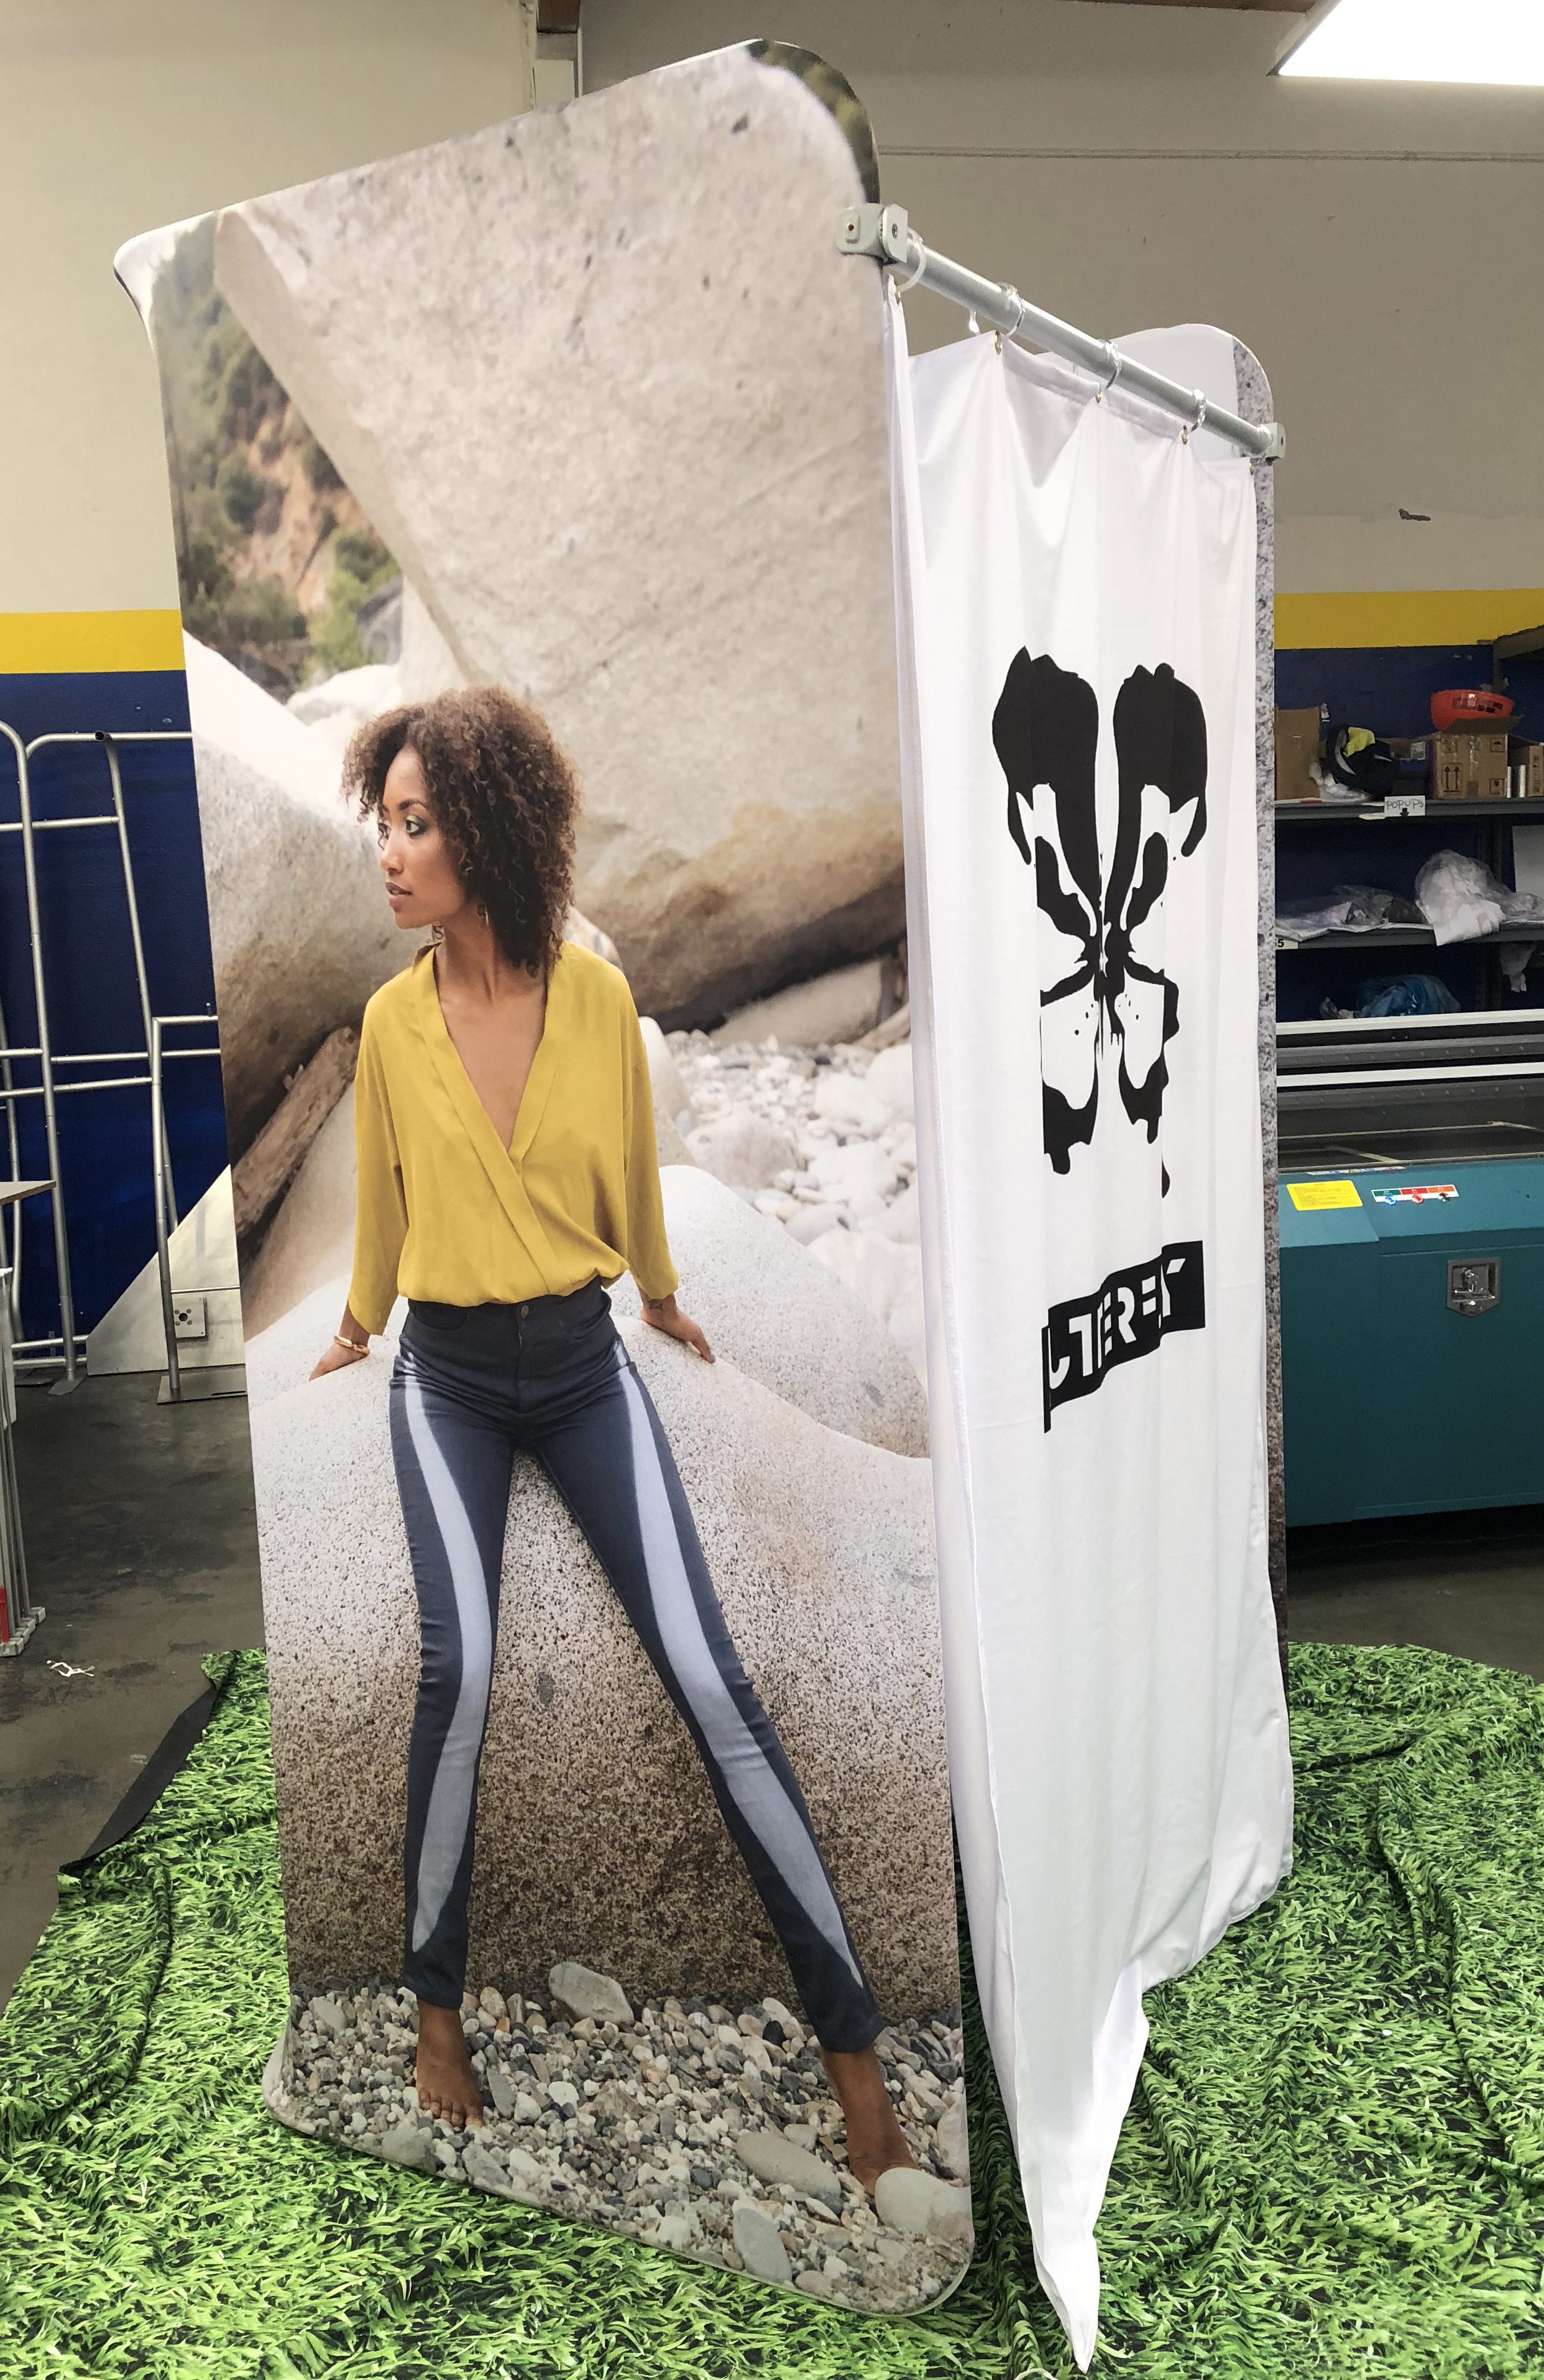
Here is an amazing example of maximizing the graphic space for branding. Butterfly Jeans sent in the most beautiful design:
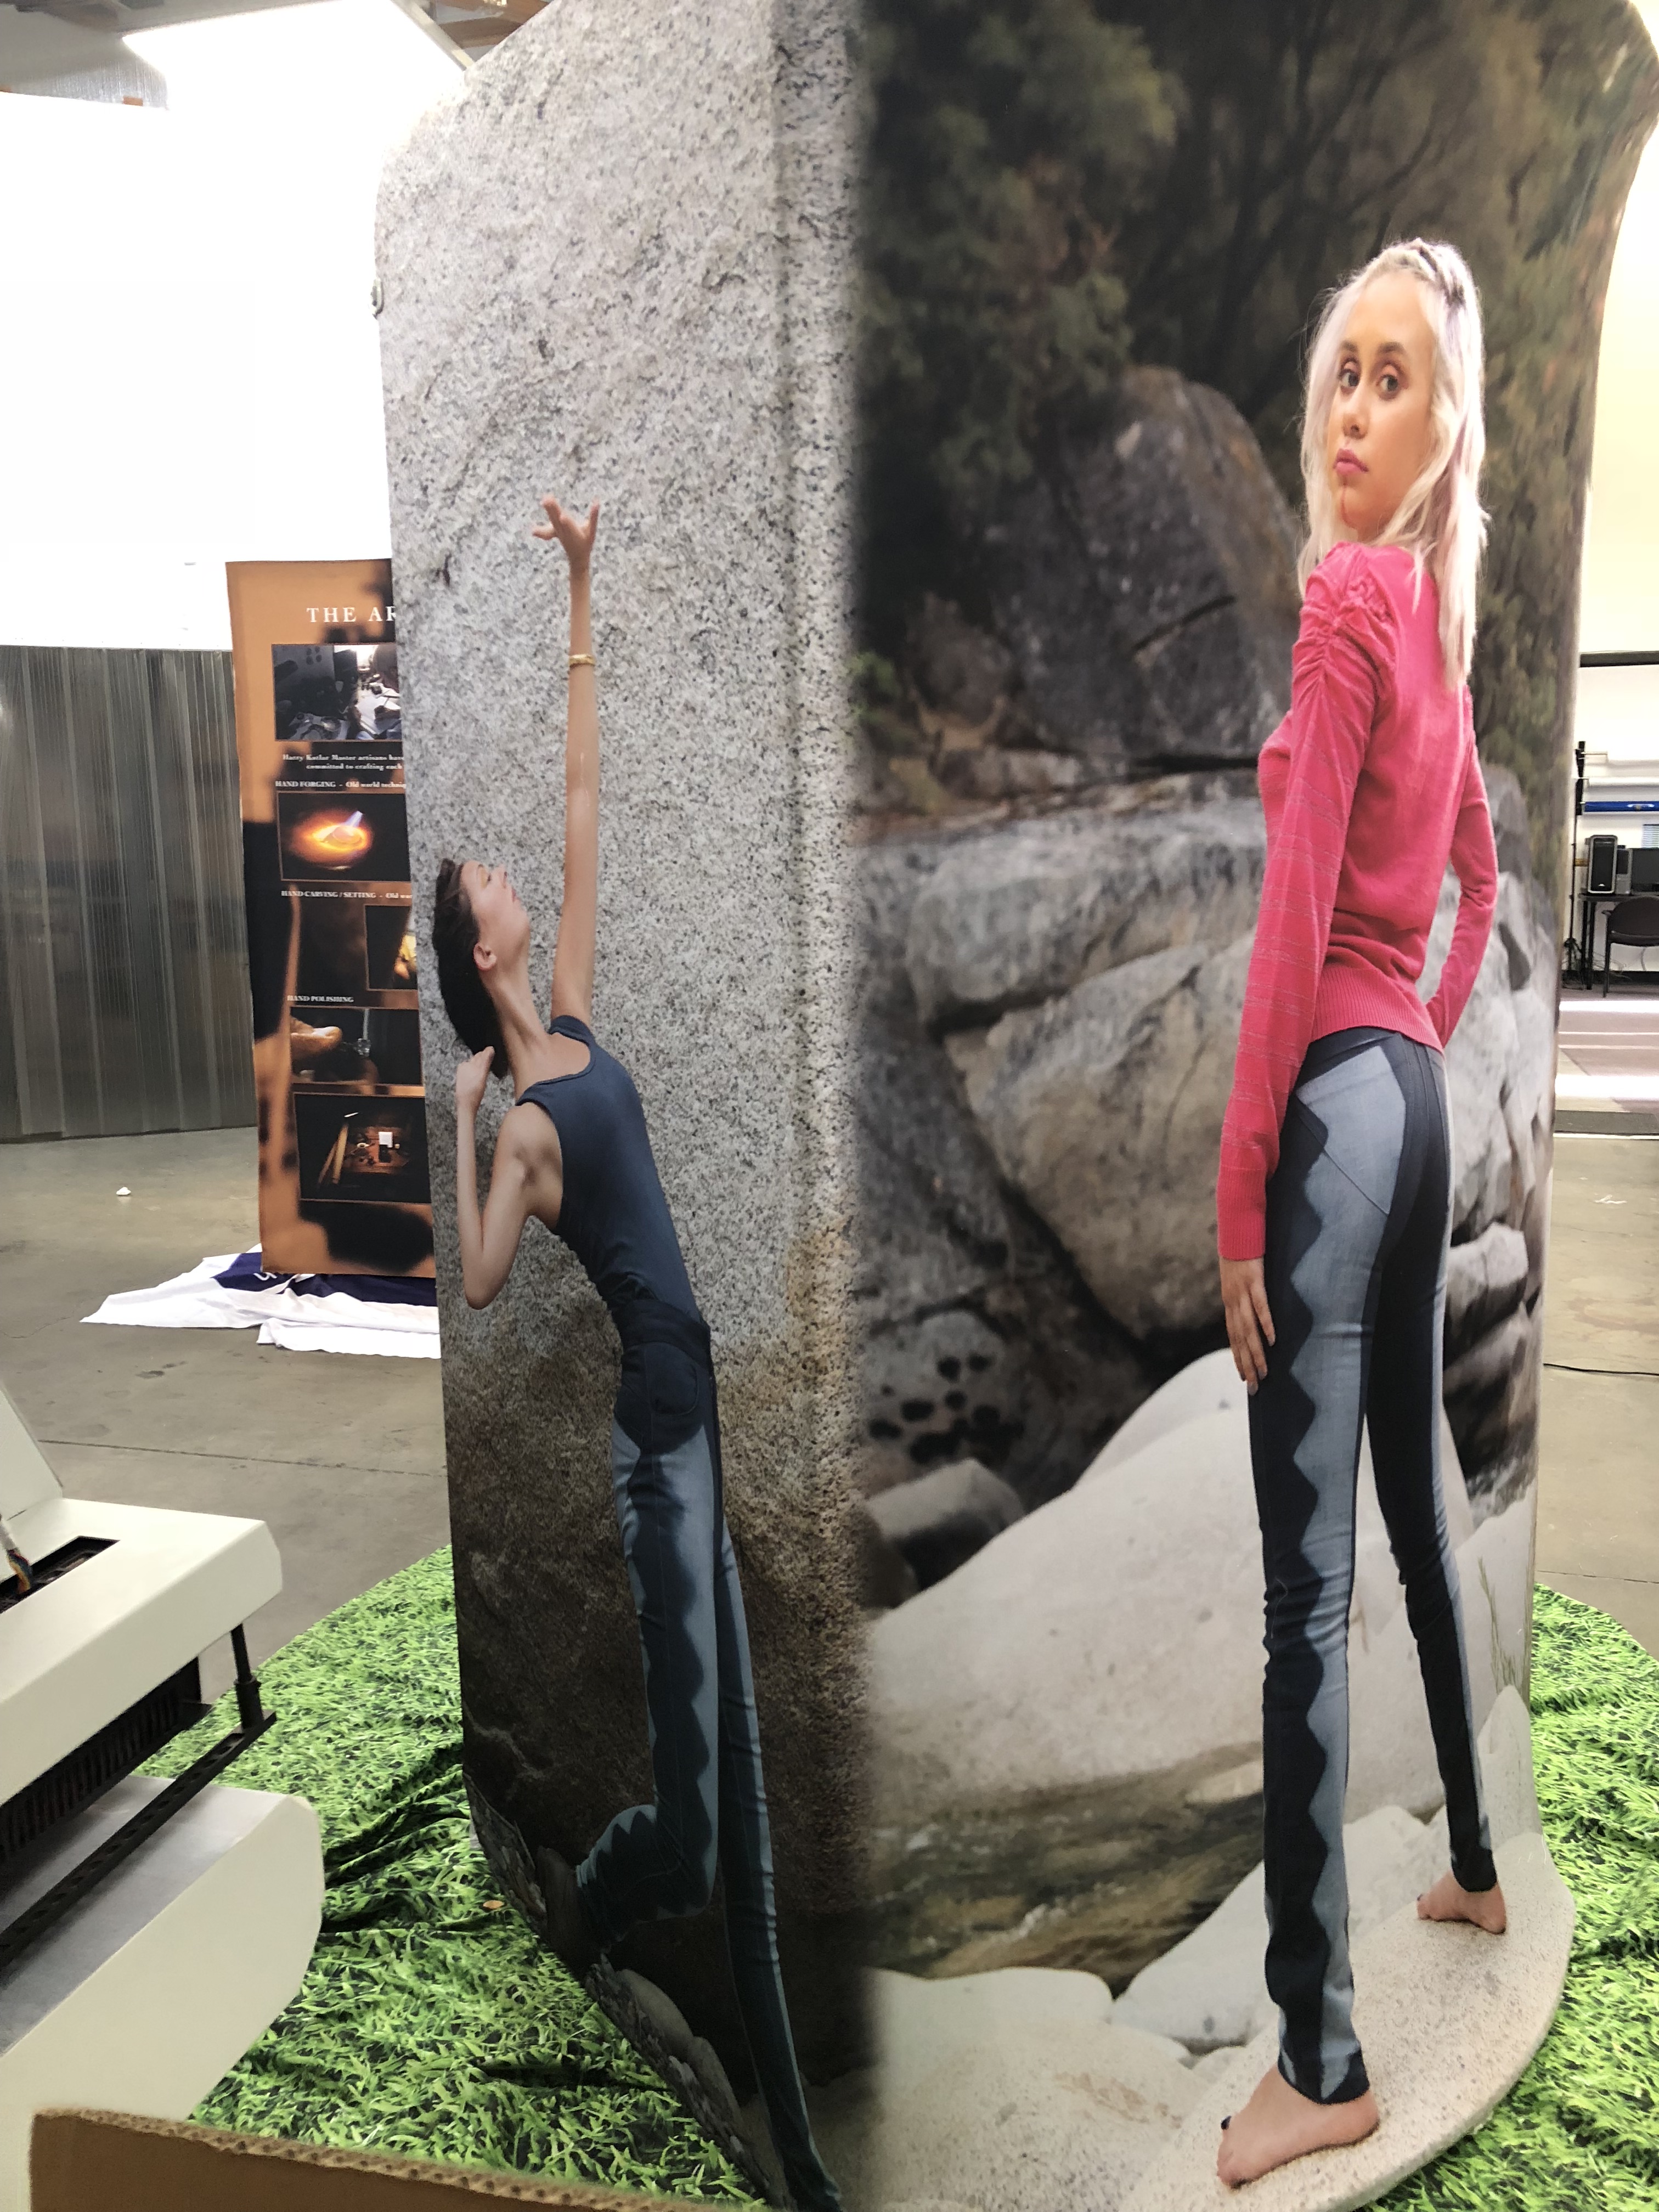
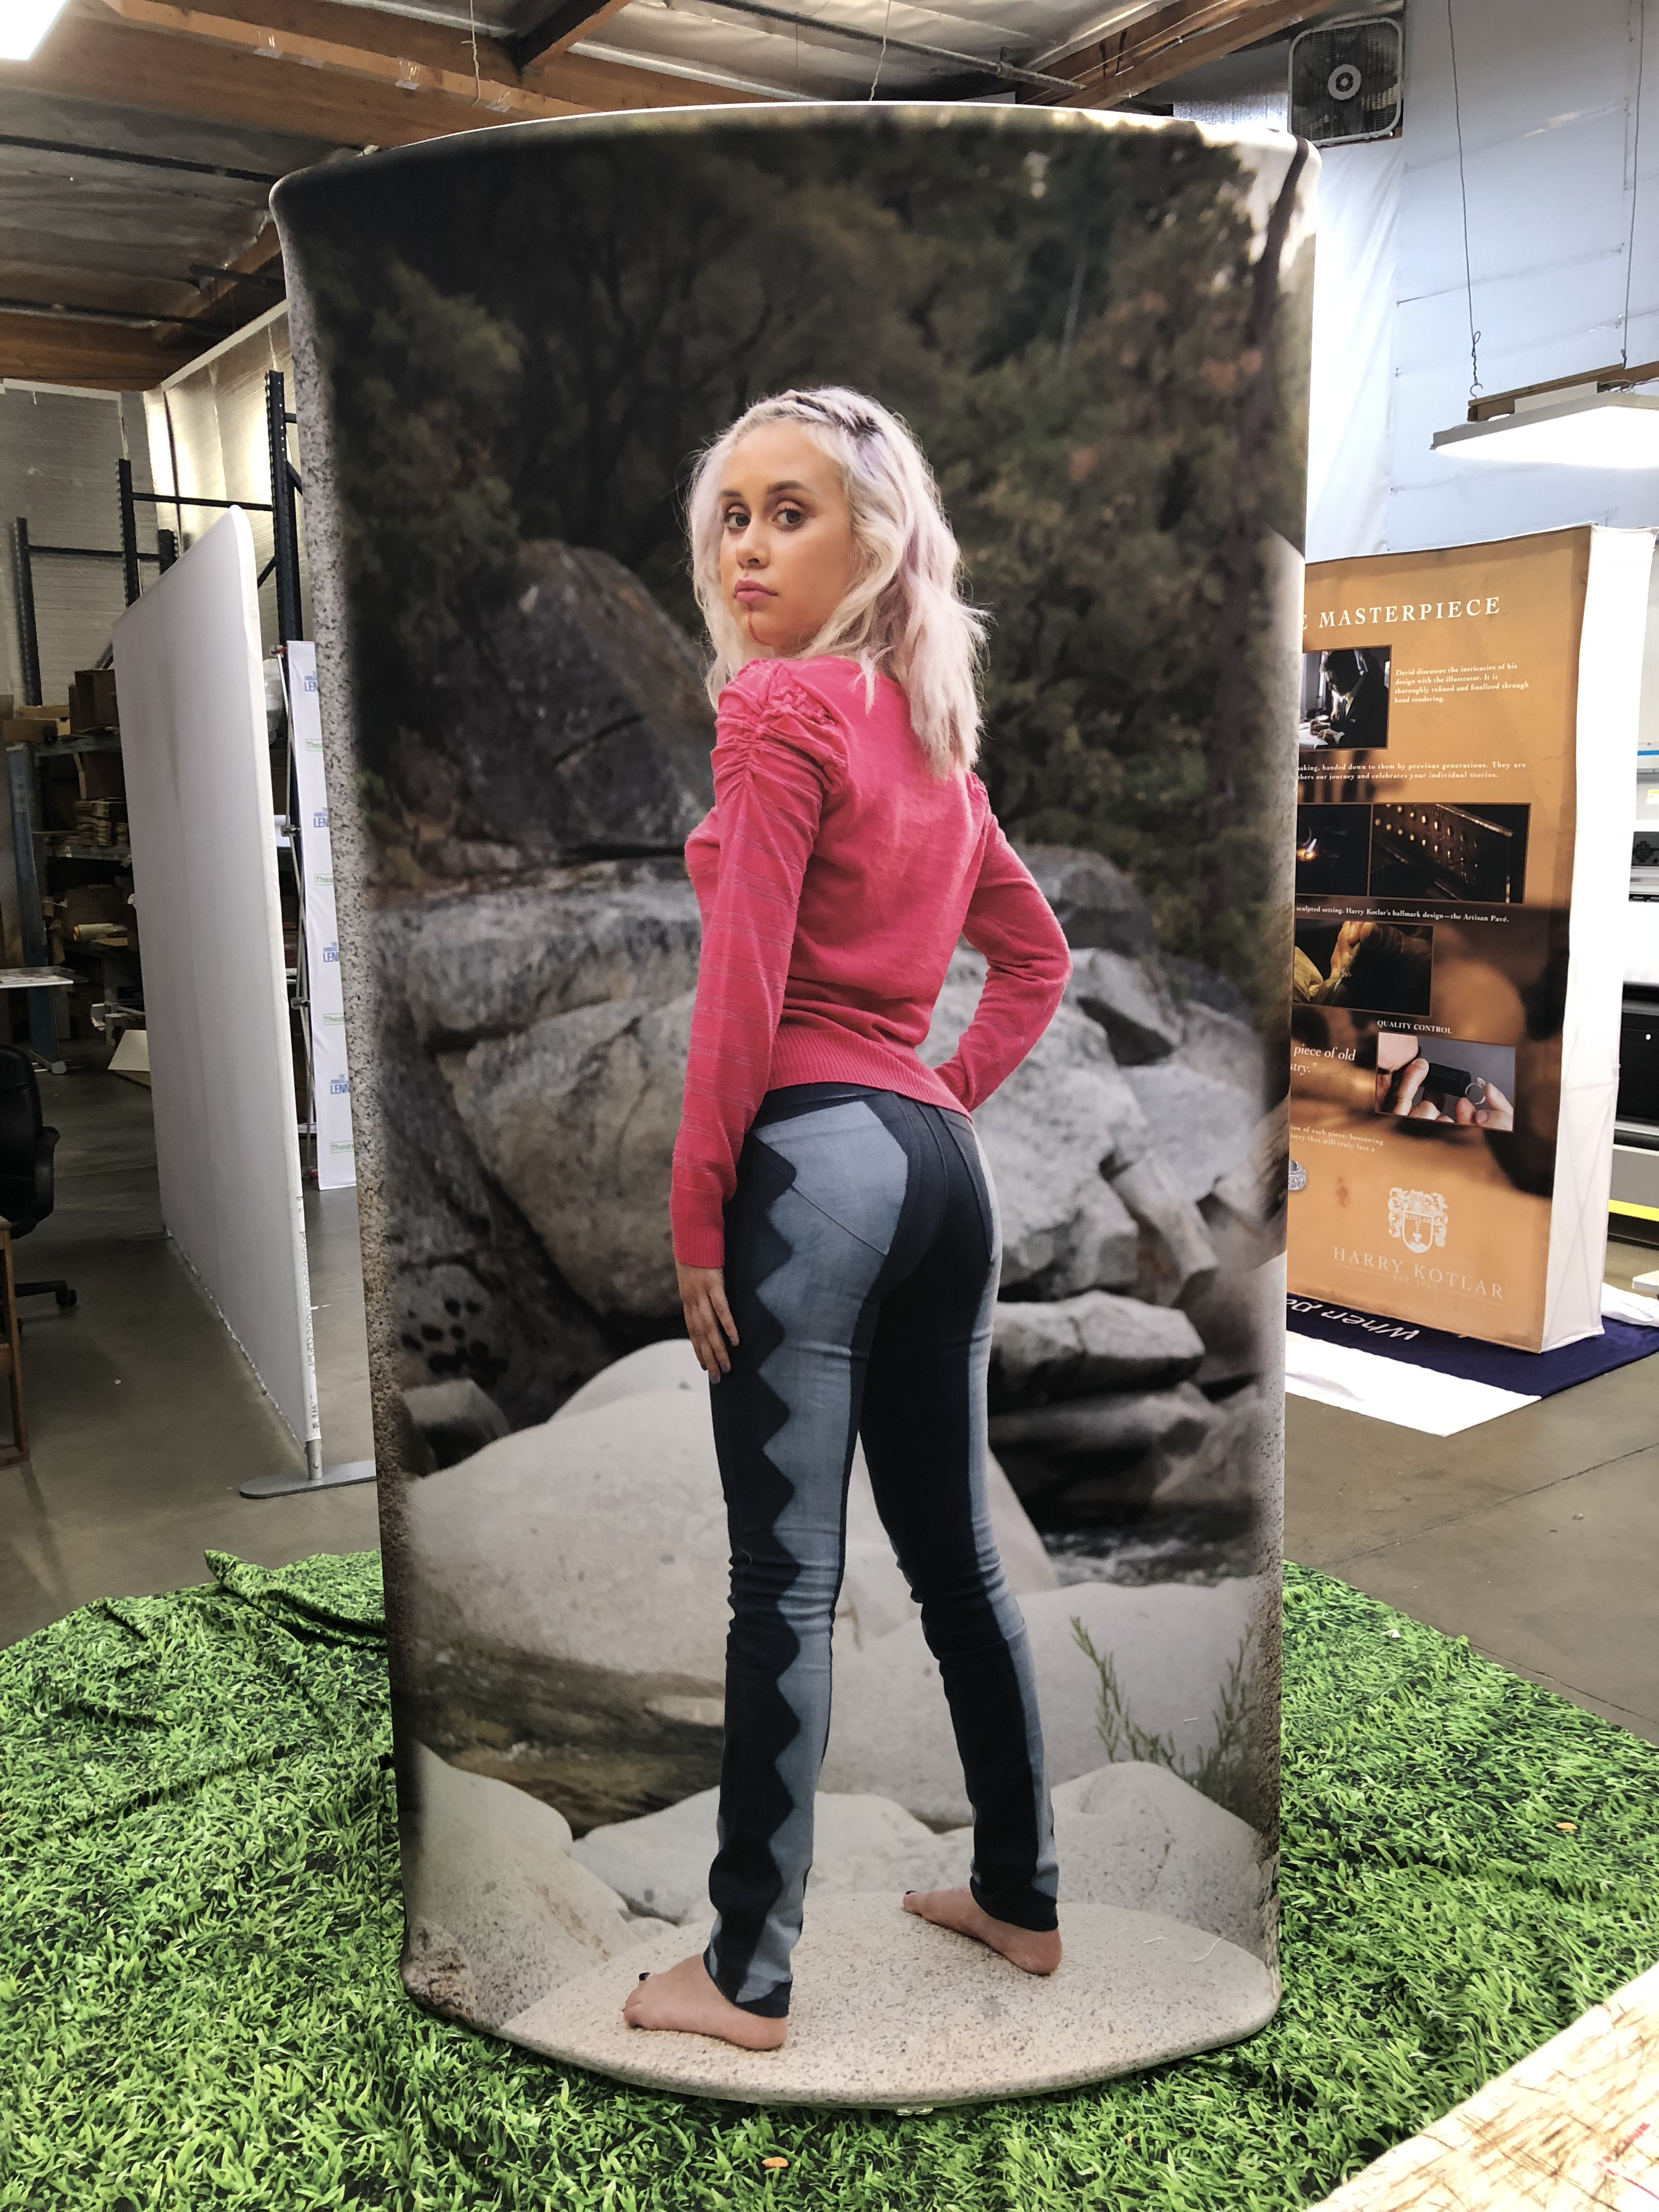
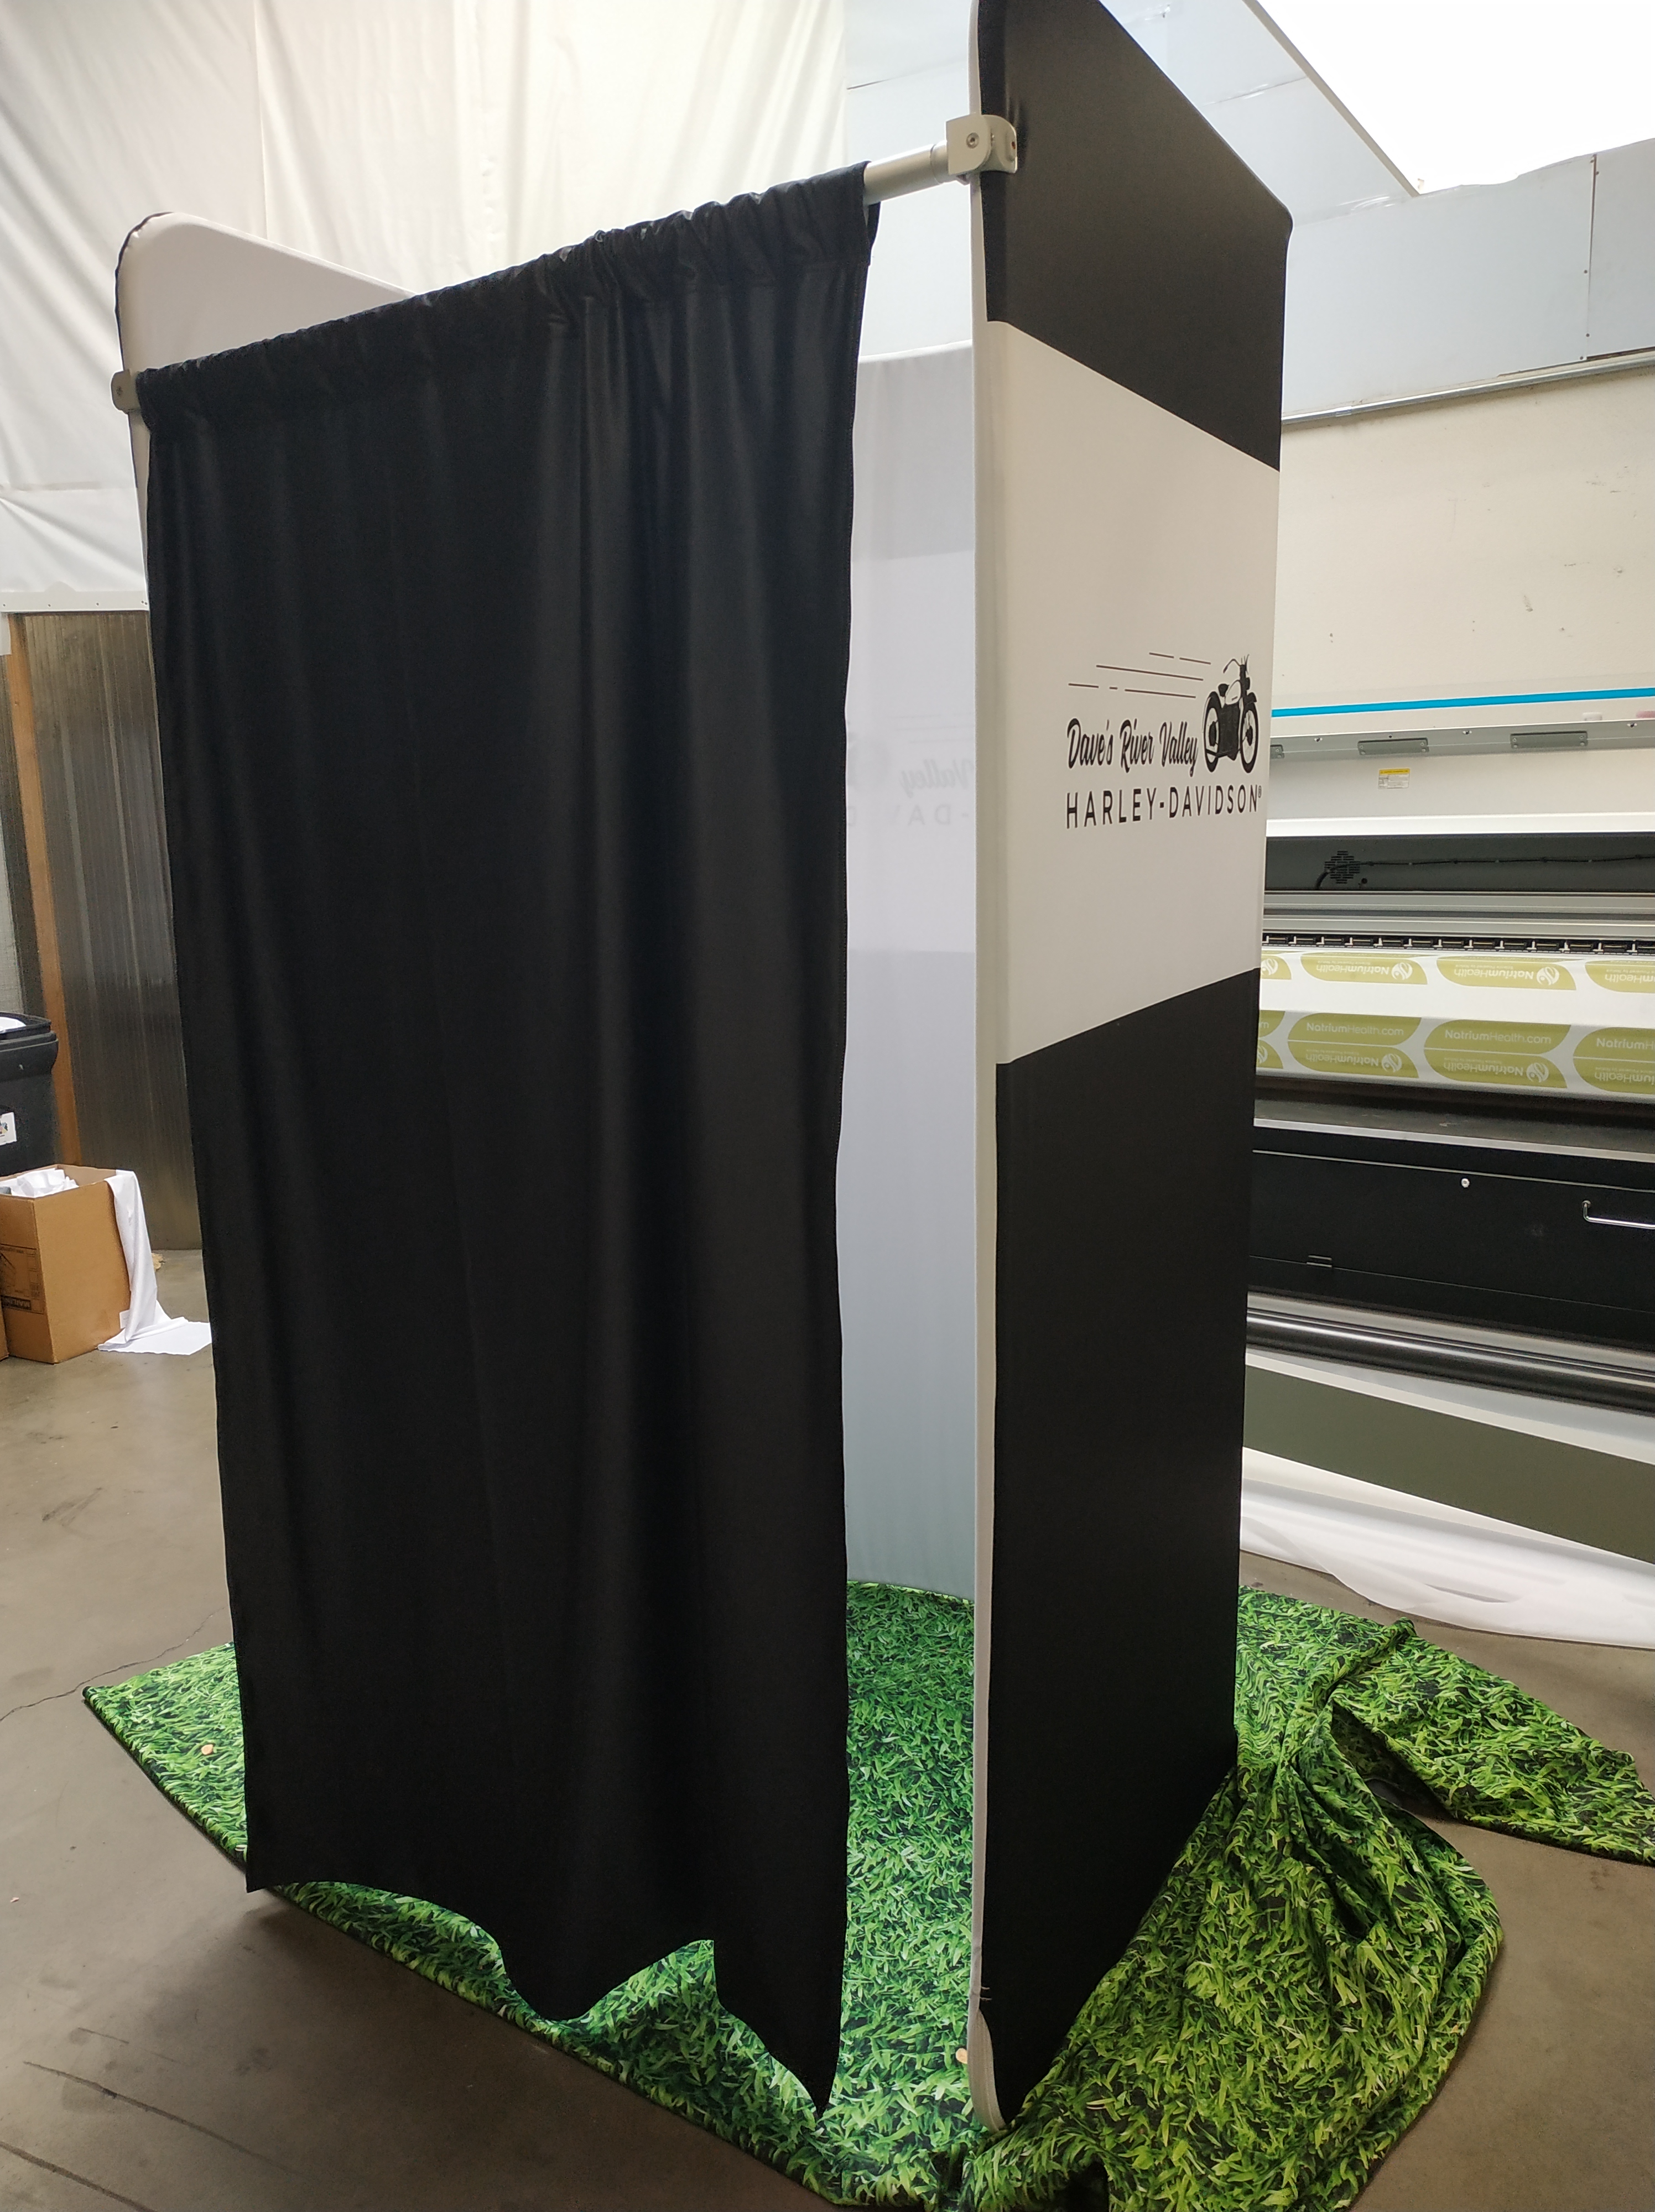
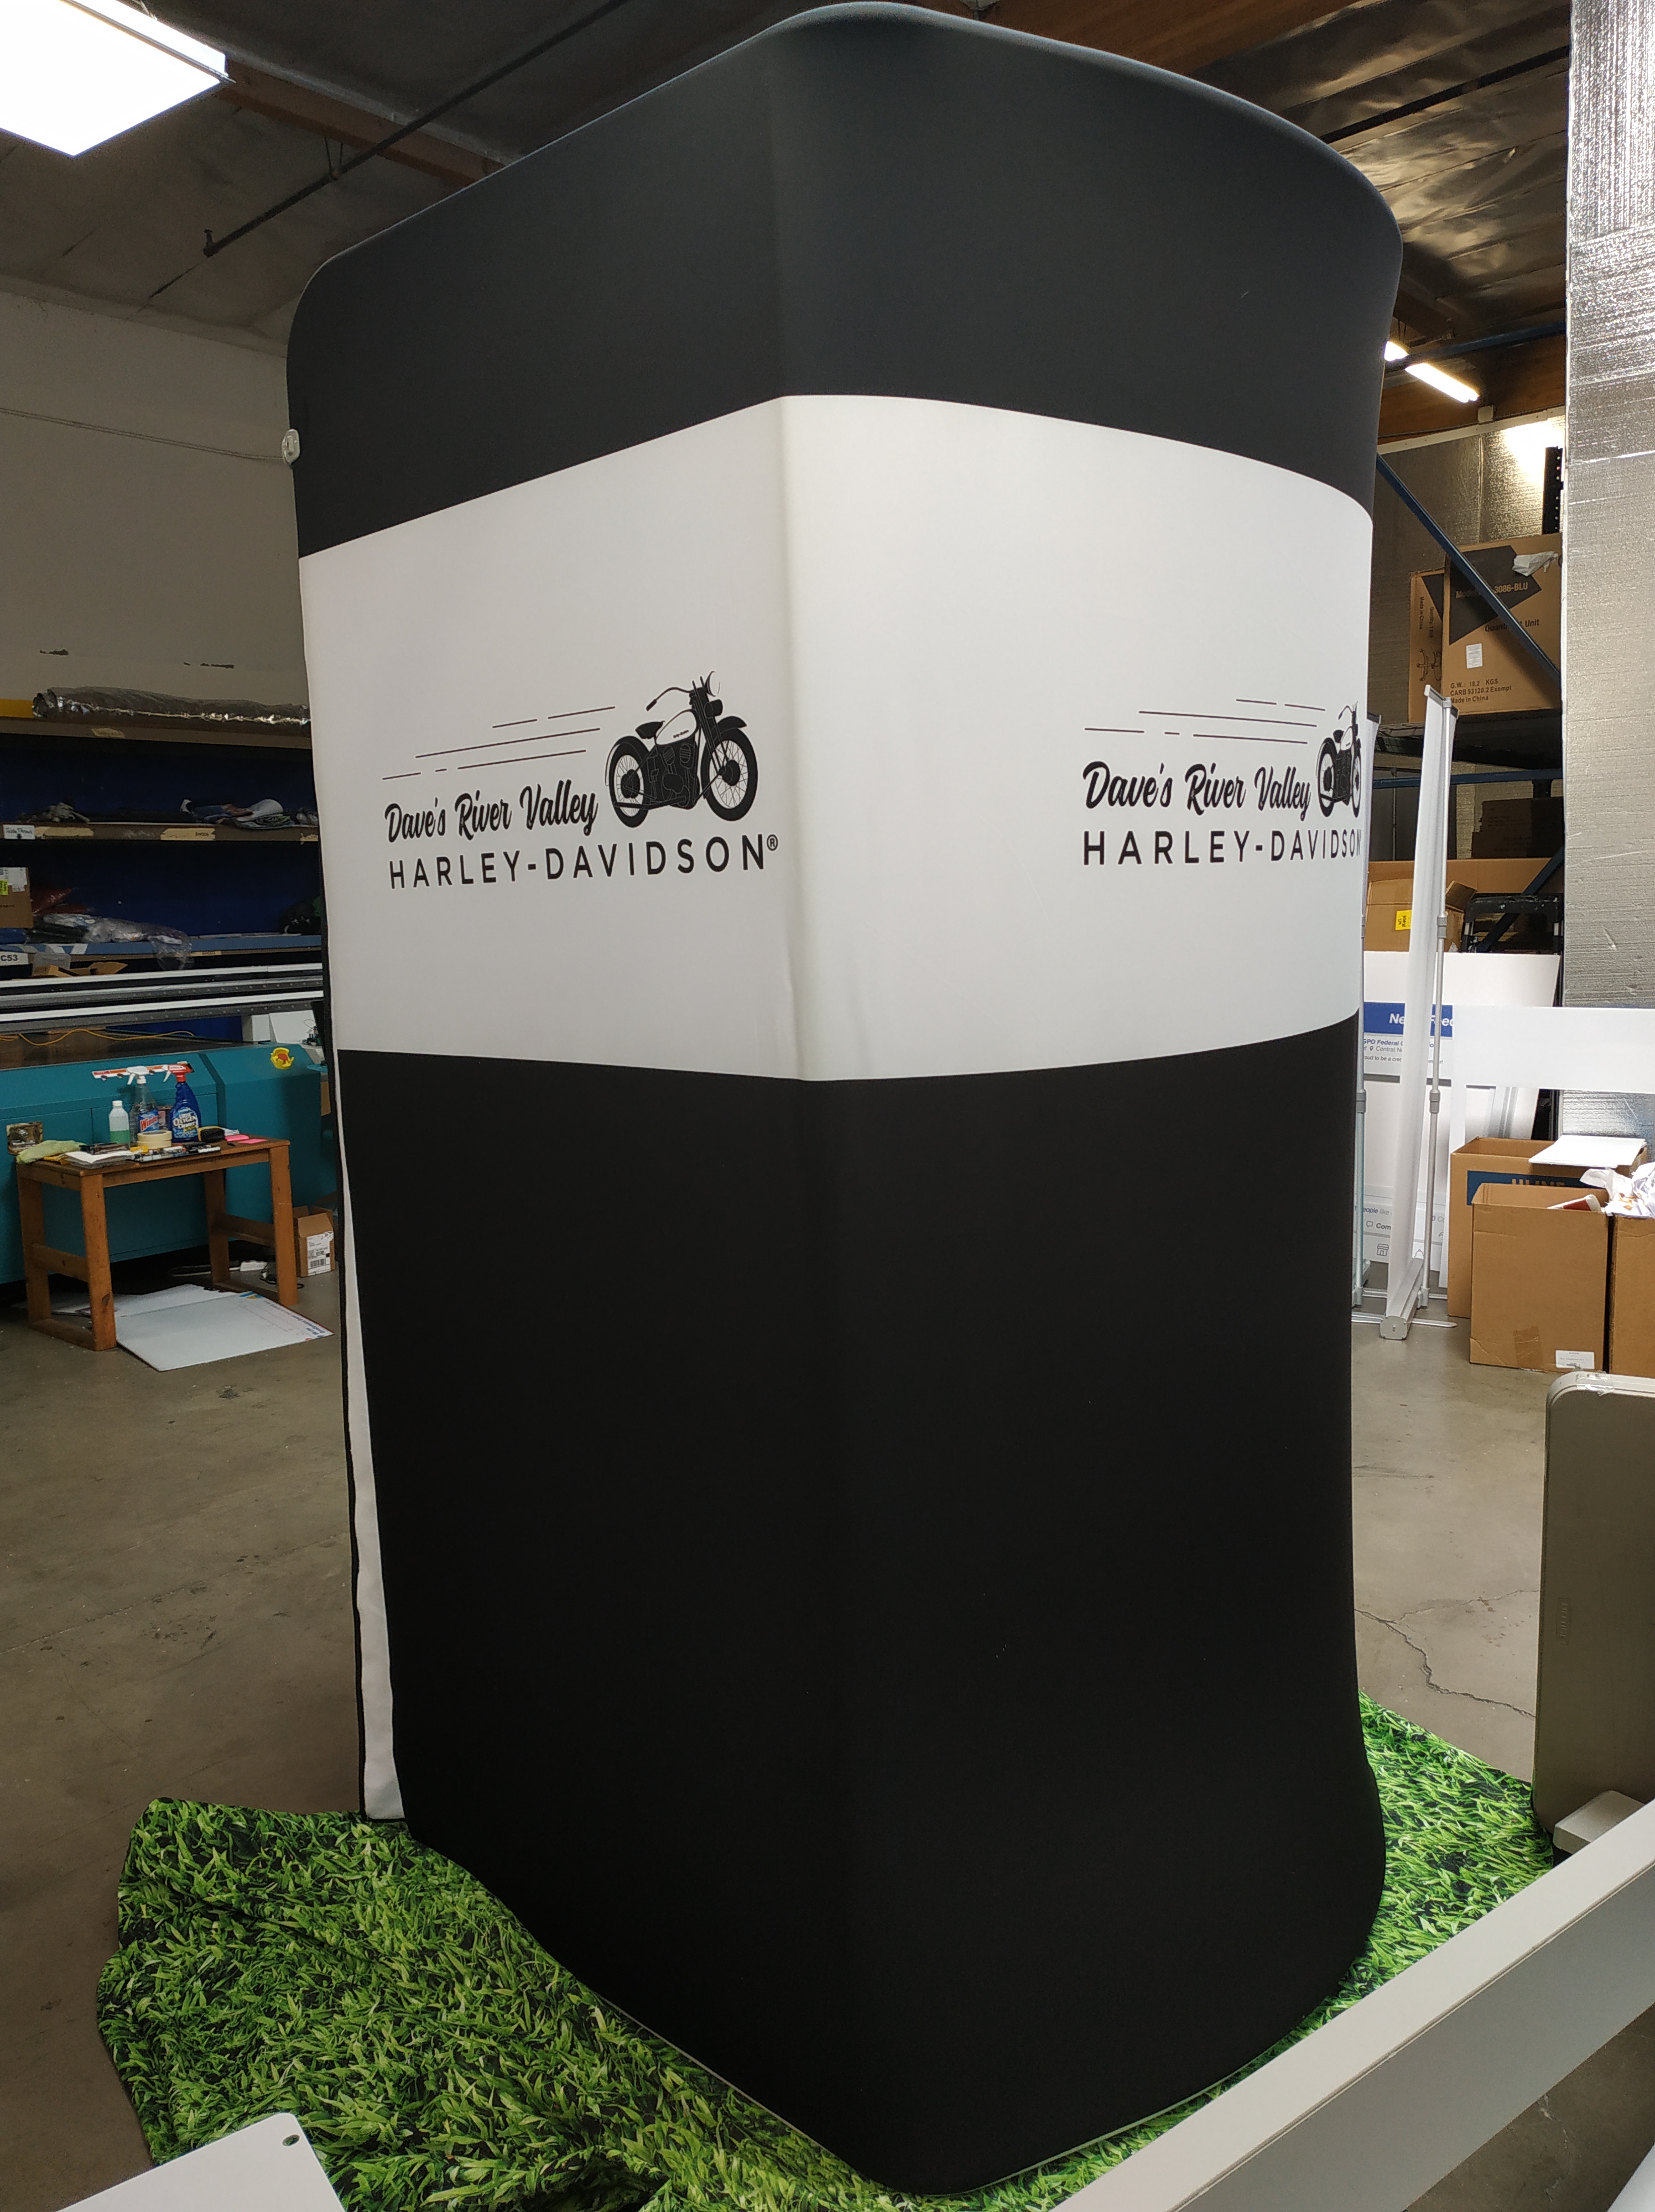
Here are some production pictures for Dave's River Valley Harley-Davidson's recent order:
Our portable dressing rooms are made out of high quality, aluminum tubing for a durable yet lightweight booth display solution. The fabric graphics are printed via dye-sublimation process for vivid prints that stand out!
Here are the step-by-step assembly instructions for the Rise Portable Dressing Room:
- Once the order is received and the shipping box is unpacked, you will find a soft case that holds the parts for the frame and the fabric print.
- Take out the fabric print and set it aside.
- Take out the tube frame pieces and lay them out.
- Match the numbers on each tube (ex: 26 - 26) and snap-on to lock onto each other.
- Repeat step 4 until the frame takes the shape of a dressing room stall.
- Lay the frame curved-side down to make a "U" shape.
- Unpack the fabric graphic and match "U" shape to the frame for installation.
- Unzip the fabric graphic and slip onto the frame like a pillowcase.
- Tug-and-pull fabric graphic through the bottom of the frame. Zip the fabric graphic closed.
- Find the curtain bar tubes and clamp one piece onto the top of the display.
- Slip the printed curtain onto the pole through curtain rings or pole pocket.
- Snap-on the remaining curtain bar tube and clamp it on the opposite side.
- Carefully lift and push the display upright (curtain bar-side up).
- Carefully pull fabric graphic to press out small creases or wrinkles.
There you have it, a portable dressing room that is custom printed with your brand's graphics!
Here is the instructional video to walk you through the installation process: